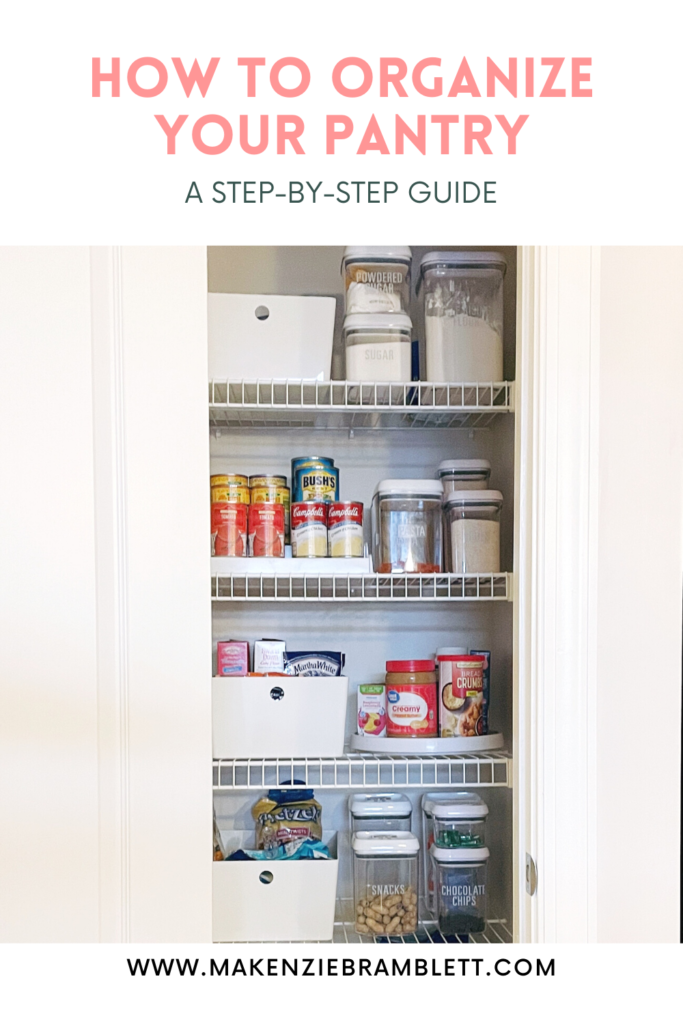
Organizing your pantry can feel overwhelming, especially if you have a larger space. It’s totally normal! However, that shouldn’t stop you from getting it organized. Today I’m going to break down how to organize your pantry (regardless of size!) with step-by-step instructions and my favorite product recommendations.
I’m not an expert, but I have organized a few pantries. I’ve transformed both my mom’s and my mother-in-law’s. which are both walk-in’s. I’ve organized a cabinet as a pantry in an apartment that didn’t have one, and my skinny pantry now. Every single time, the process is the same. Take one day, commit to the process, and you will thank yourself later!
Why Organize?
You may be thinking: What is the point?! My kids will just mess it up. My husband won’t be able to put things back. It’s too much work. I get it. The process does require work on the front end, and there is maintenance involved. But, just like any other organization undertaking or cleaning project, there is always going to be maintenance. You mop the floor and the kids come in with muddy shoes. Does that mean you should never mop? No.
Organization provides structure, saves money, and let’s be honest: it’s just pretty to look at. An organized pantry means you (and your family) can easily find what you need and see what you’re out of. It prevents food from getting lost and expiring. And, the air-tight containers actually keep your food fresh for longer. To me, it’s a no-brainer!
How to Organize Your Pantry
STEP 1: Pull every item out. Yes, every. single. item. Use your counters and tables, and get the pantry 100% empty. You need to visually see everything you’ve accumulated, and this will help you create categories as you go.
STEP 2: Trash and declutter. Start with one item and go through every. single. item. to check for their expiration dates. If there’s stuff that’s going to expire soon, make a plan to use it up. Trash the items that are expired, AND trash the things you know you aren’t going to eat/use. That coconut sugar you bought when you were on a diet? Bye-bye. If the item is unopened and not expiring soon, you can always take it to a local food pantry. No need to trash and waste food if you don’t have to.
STEP 3: Sort. You can do this as you go, but you’re going to want to group like items together. All of the chips together, the pastas, all of the cans, baking goods, snacks etc. Create your groupings so you know what you have.
STEP 4: Shop. The most fun part!! This is where the exciting things happen. Once you have your groups, take some pictures on your phone of everything you have and make a note (on your phone, or on paper) writing out your product needs. For example: 3 medium pop containers for the 3 types of pasta, 2 large pop containers for flour and sugar, 1 small container for grits, 2 baskets for chips + crackers, etc. etc. etc. Depending on the size of your pantry and the items you own, this could be a long list. Then, TAKE MEASUREMENTS. Don’t forget this step like I always do. You want your baskets to be the same depth as your shelves, and you want to make sure your containers won’t be too big or too small in the space. Now, get to shopping!
*PRO TIP: If you want to save money, shop at Homegoods, TJMaxx, Ross, the dollar store, and Walmart! If you want the aesthetics and have the budget, go for The Container Store or Amazon. Either way, you can still have a beautiful pantry! I’ll link some of my favorite products further down in this post.
STEP 5: Contain & Label. The final step! OMG, you’re finally here. Take those shiny new products out of their bags, and start placing product on your shelves.
*PRO TIP: Do NOT remove price tags/labels from your products yet. Make sure everything fits how you like it first, in case you need to make any returns.
Once you have everything the way you like it, remove those labels and start placing everything where it belongs. Dump the pasta into the pop containers and squeal with excitement!
*PRO TIP #2: When it IS time to remove the price tags, use a hair dryer on the price tag first for a clean removal. Trust me, it works + it saves you time and goo-gone.
*PRO TIP #3: As you are decanting, be sure to write the expiration dates on the back or bottom of your pop containers with a wet-erase marker or a piece of tape.
Lastly, label! This may seem like something you can skip, but I promise it will bring the whole look together AND keep you + your family more accountable. If you’re like me and you don’t have a Cricut, you can buy labels on Amazon for fairly cheap. My favorites are from Talented Kitchen, linked here.
Product Favorites
As I mentioned above, the cheapest way to get products is to shop at Homegoods, TJMaxx, Ross, the dollar stores, and Walmart. I personally have the best luck at Homegoods and Walmart! They have great prices, and often have the same name brands like OXO at a discount.
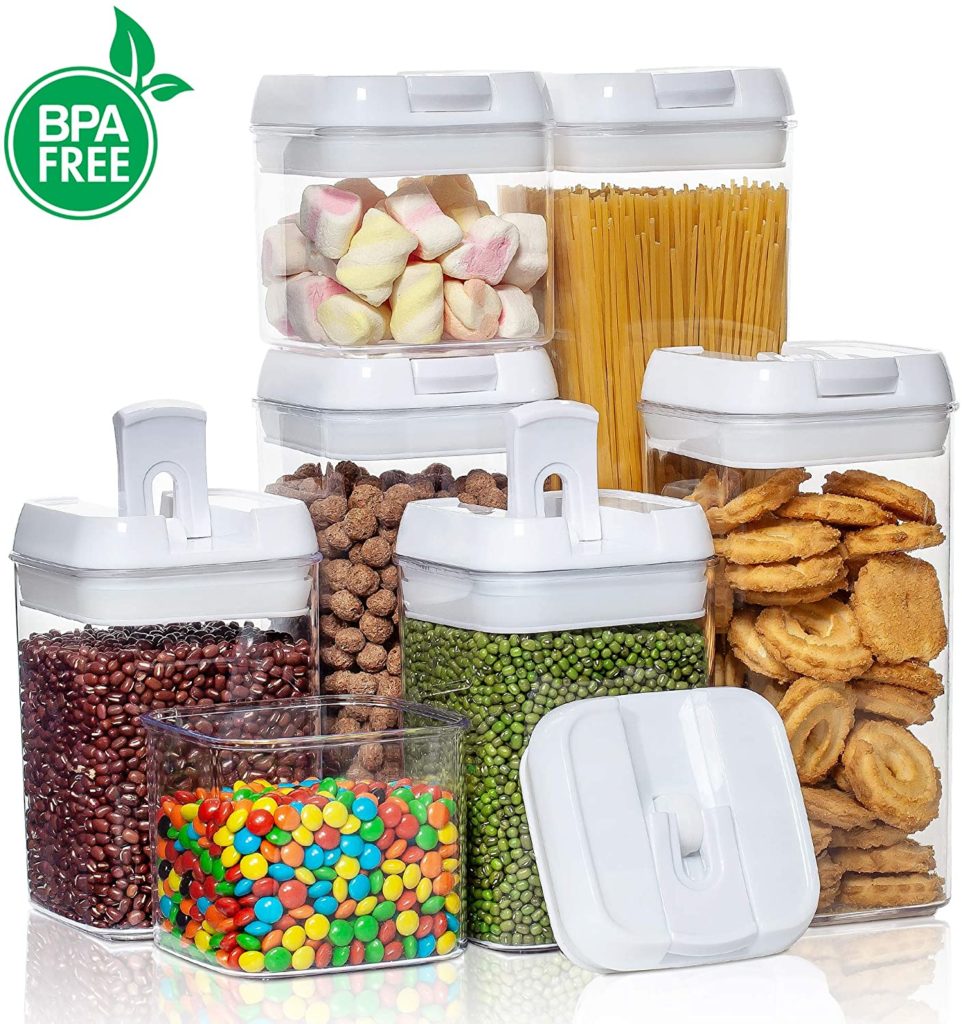
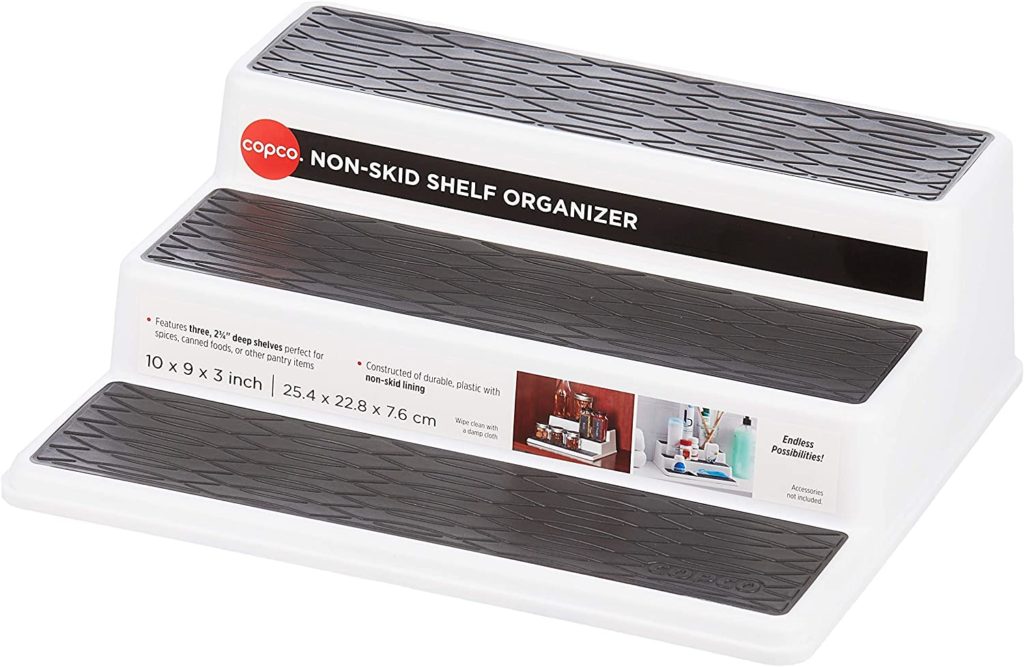
If you don’t know where to start, here are 6 must-have products for simple kitchen organization. A few of my other favorites include:
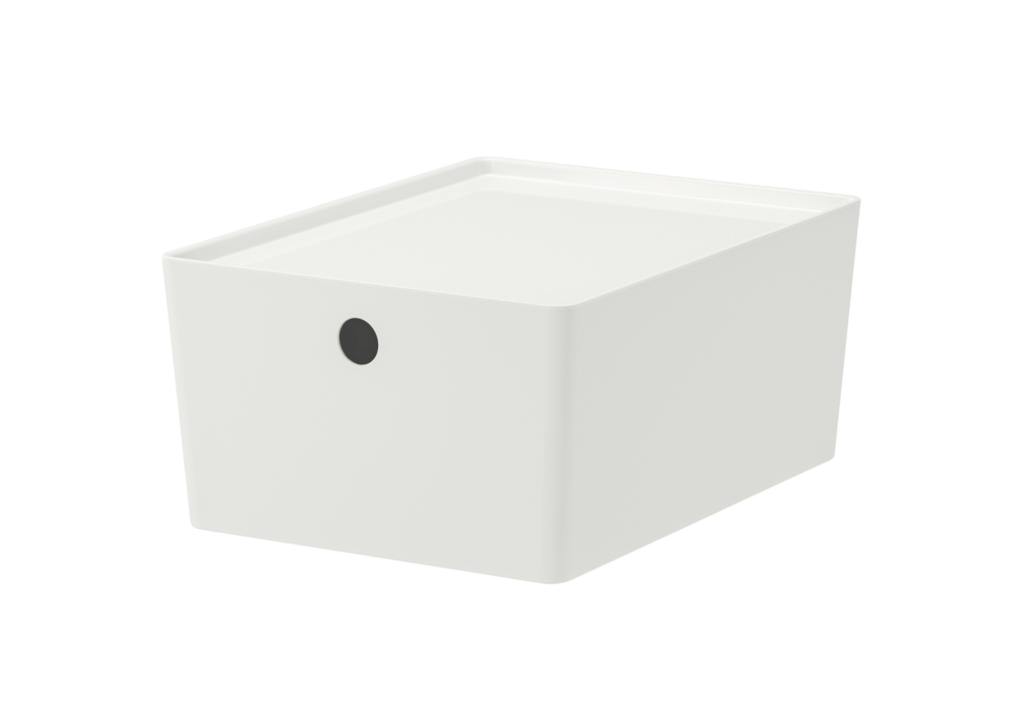
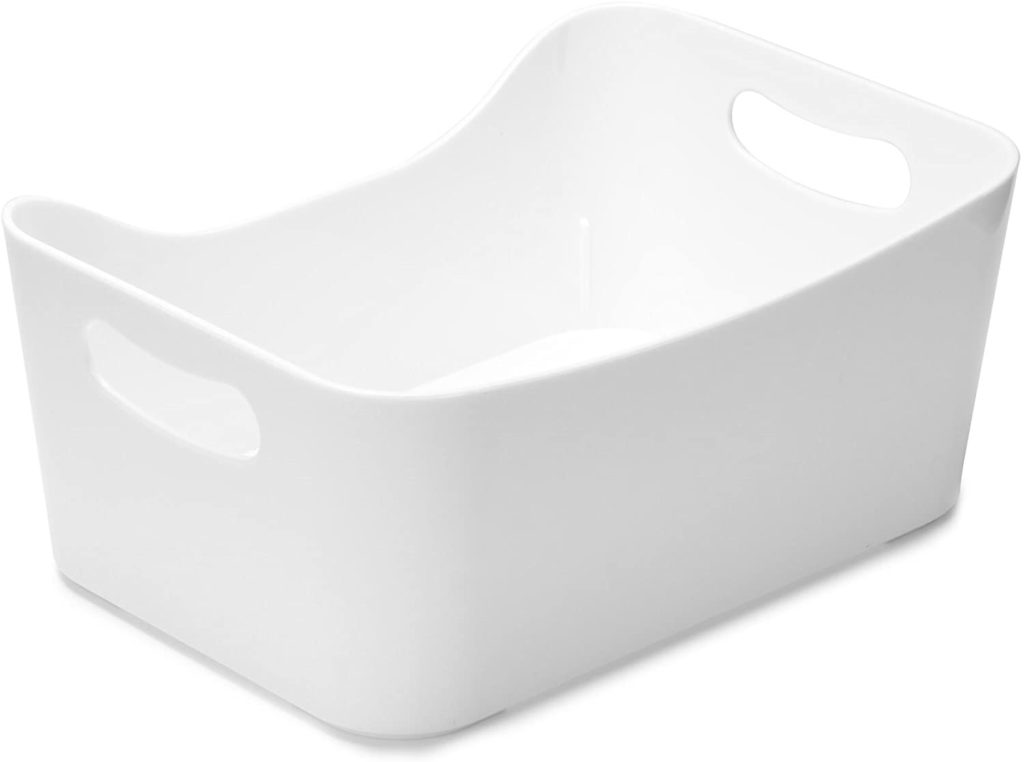
- Simple white plastic bins – great for pre-wrapped snacks, bars, and chip bags.
The ones in my pantry are from IKEA and have a lid which I love! They are linked here as well.
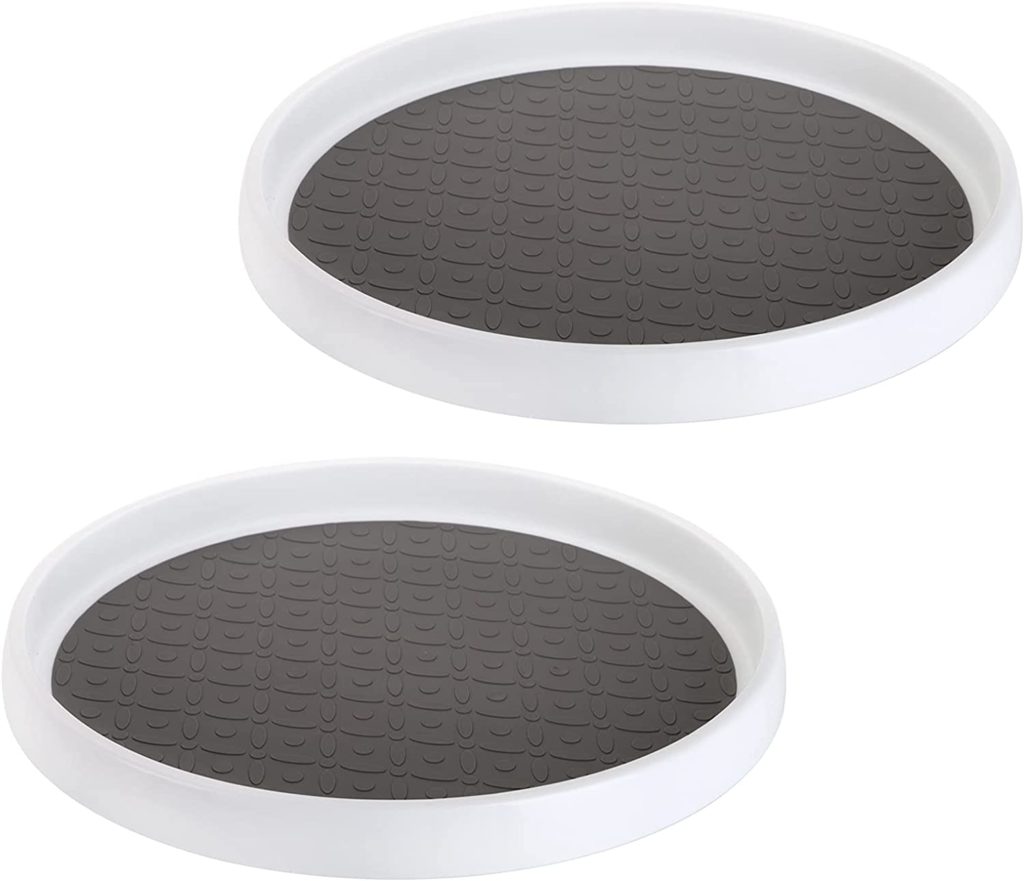
2. Turntables / Lazy Susans! These are perfect for corners of the pantry to prevent items from getting lost. I have one in my pantry to hold misc. items and I love it!
3. Container Sets. These are a great way to save money! Just make sure all of the containers will be used within your space.
4. Can Riser. I loooove this product! Mine came from Walmart and was $10. This one is even cheaper! Such a great way to maximize space so you can see what you have!
You can do this!
You have the steps, you have the tips, you have the product recommendations. What are you waiting for?! You can totally do this! I’m cheering you on, and I want to see your wins. Tag me on Instagram if you do organize your pantry! I would love to see it.
If you’re a visual/audio person and need some inspiration, I filmed the entire process of organizing my own pantry! You can watch it right now on my YouTube channel. Video linked here!
Disclaimer: Some of the links on this page are affiliate links. That means I get a small commission if you purchase through the link. However, I make it a point to only share tools and resources I truly love and use.
[…] reason is organization and space. We have a small pantry, and before this home we didn’t have a pantry at all. We simple do not have the space to buy […]